Screenshots of Updated Work:
Continuing with my work in Maya, I had taken the next step with a number of the weapons, now moving on to properly texture them.
Kusarigama:
In this case, due to an unfortunate corruption of the original file, I hard to start the kusarigama model from scratch; both model and UV map.
On this time around, rather than paint the textures using photoshop, I tried out the 3D software Mudbox as I was also learning in one of my other modules at the time.
The result is this:

Rendered in Maya using mental Ray, this is the finished version of the kusarigama 2.0 Utilised here is a diffuse (colour), bump and specularity map to build the texture.
Katana:
 Here are some images of the finished katana model. After using Mudbox for the first model, I was very pleased with how it came out, and so decided to continue with Mudbox as my dedicated texturing software of choice.
  A close-up of the guard of the katana and the handle.
Sai:
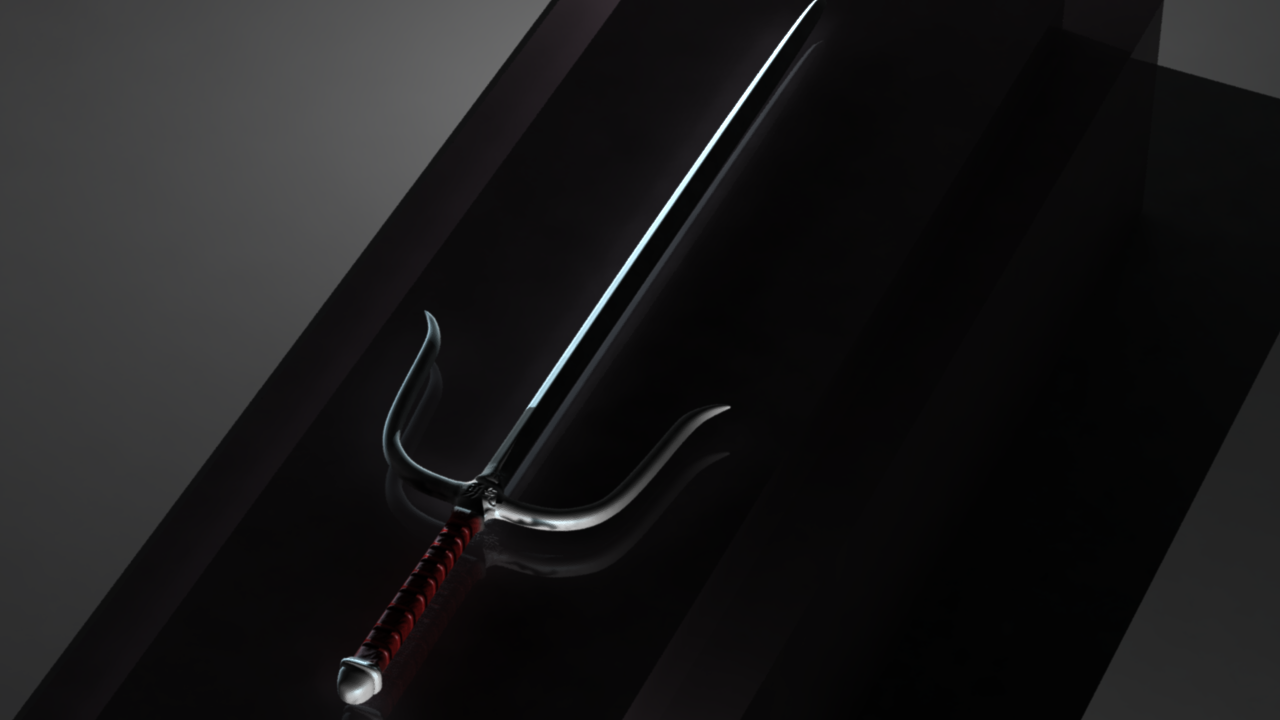
This is a test render of the finished Sai model: while the reflections on the blade are quite nice, the overall lighting may be too dark to really notice any of the finer details.

And this is a shot of all the finished textured models so far.
No comments:
Post a Comment